Design process
Good design creates a positive experience by anticipating, and fulfilling, people's needs.
I worked through five stages of the design process and then built the site in Webflow. I started with research and concepts, explored the look through a moodboard and sketches, made lo-fi wireframes and the UI design, tested the website with real users, and finally developed it in Webflow.
- Problem & concept
- Moodboard & sketches
- Wireframing
- UI design & prototype
- Feedback & testing
- Webflow development
User persona
I based a persona on my research to represent the people who might use the product, and to keep their needs, experiences, behaviours and goals in front of me.

Kathryn Murphy
27 · Digital Marketing Specialist · London, UK
Kathryn works in a big company and communicates a lot with her colleagues. She likes it when everything is organised and she can track her work progress easily. She's frustrated that it's hard to keep all the information, collaborate and attend meetings with her colleagues in one place.
Lo-fi wireframes
Lo-fi wireframes are the blueprint for the design. They connect the underlying structure (the information architecture) to the surface (the visual design), before brand and visual style come in.
Style guide
Typography
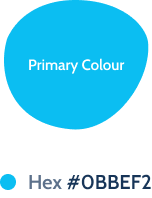
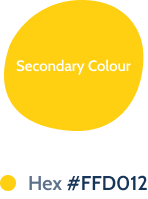
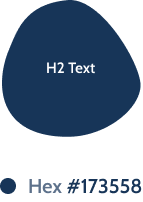
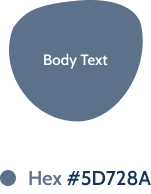
Colour palette
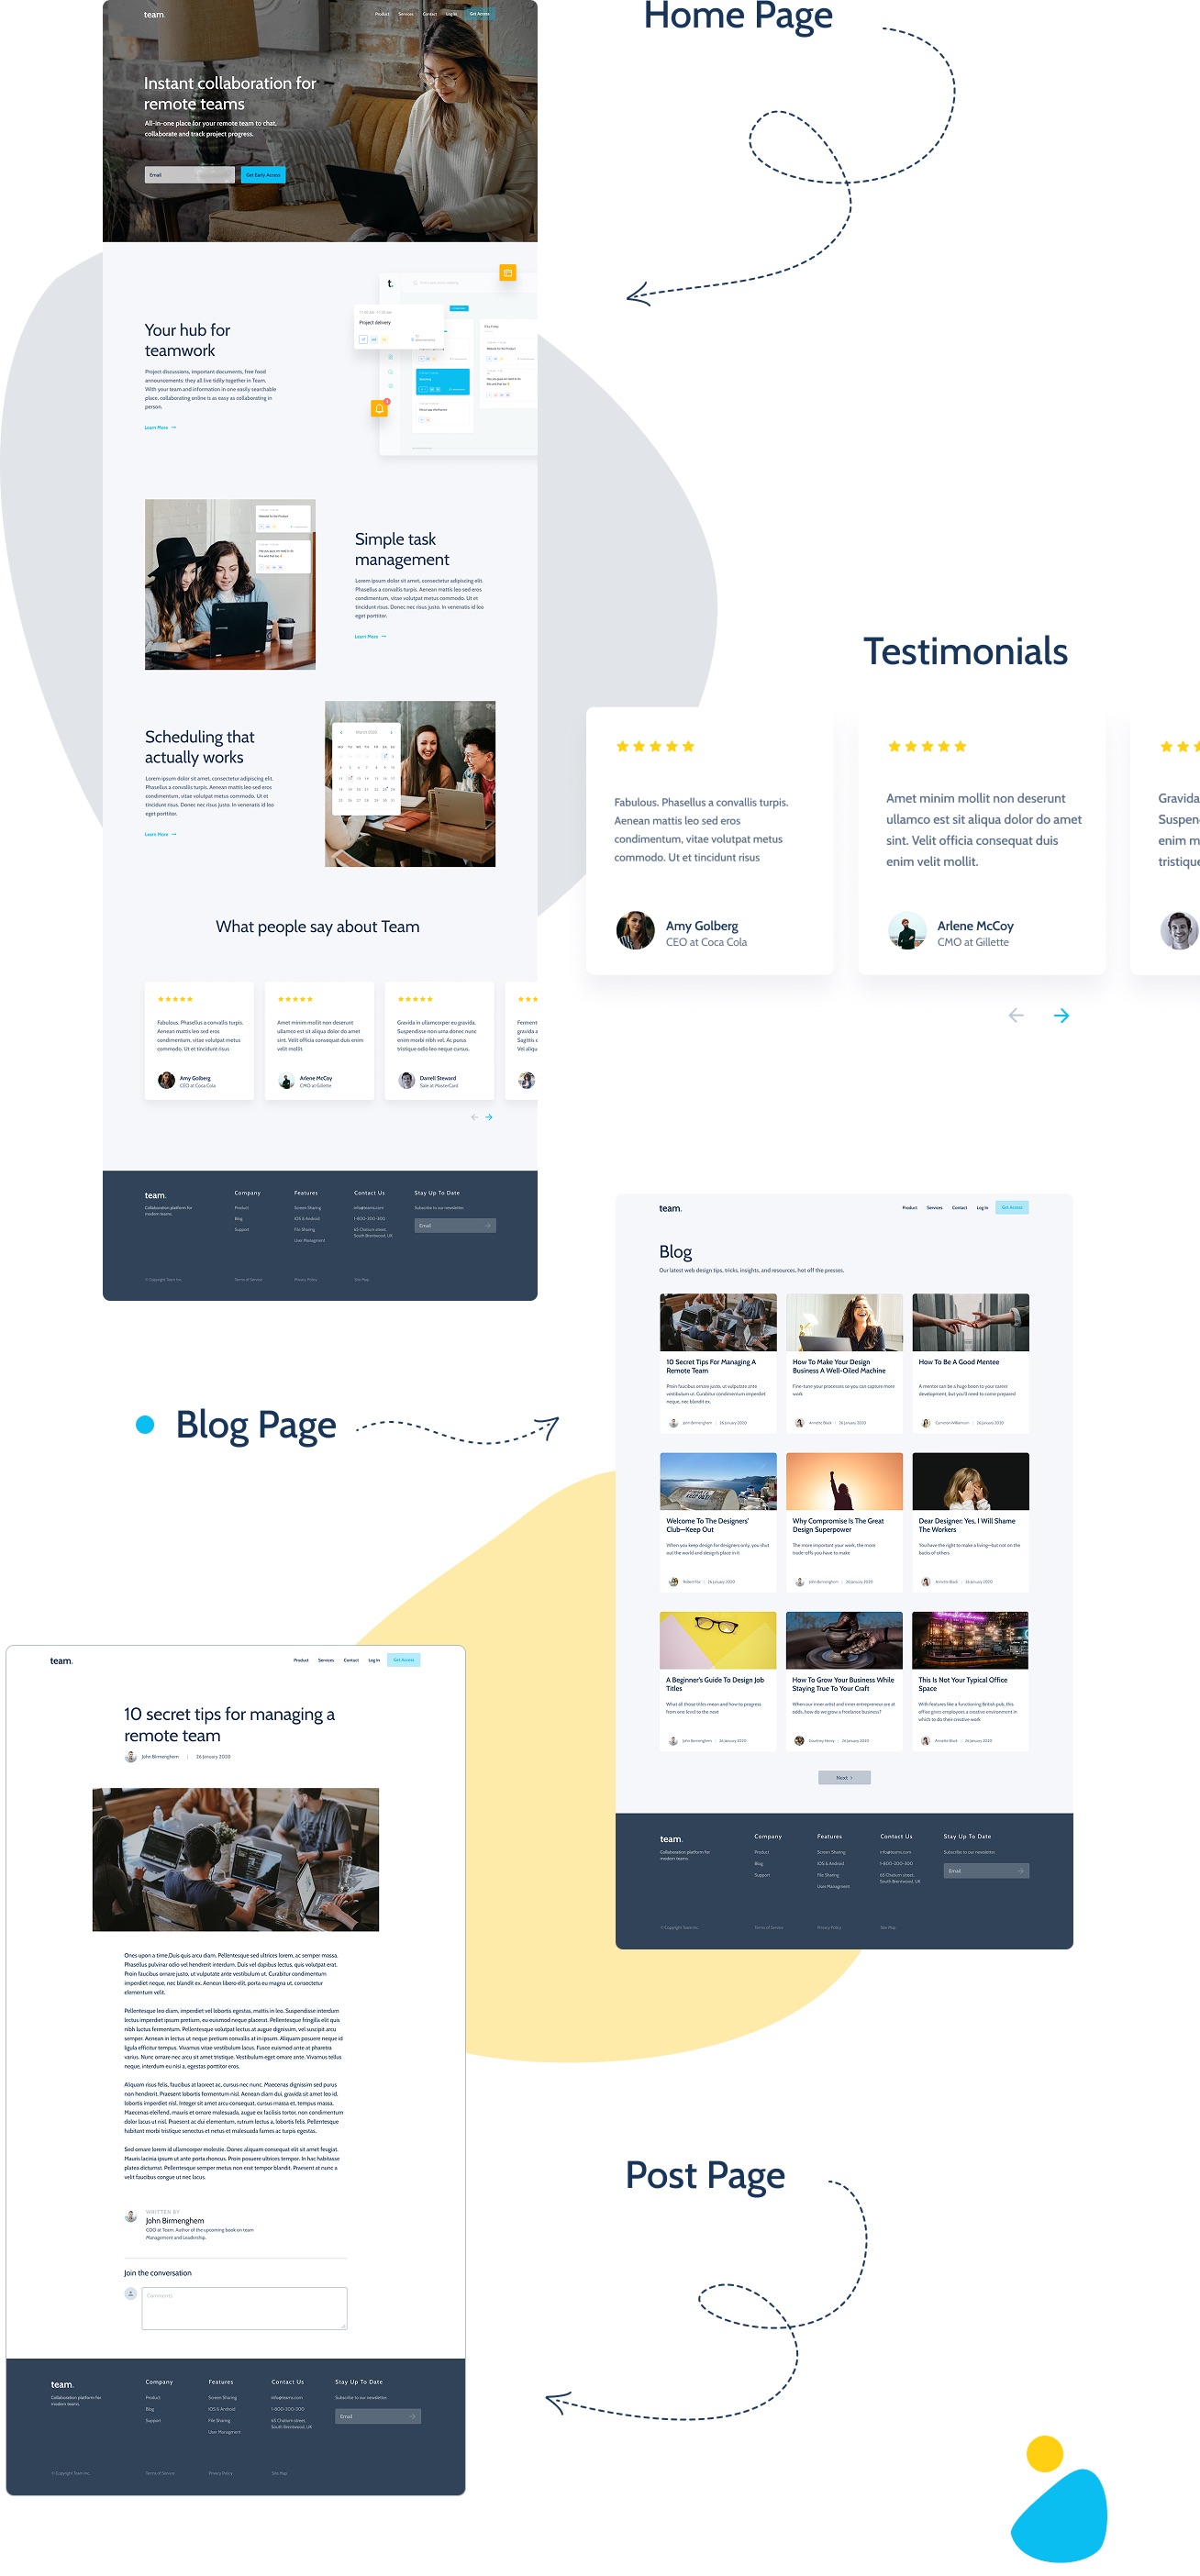
Visual design
To draw attention, I paired a blue base with bright accent colours and kept the design as minimal as possible.
The website serves a wide range of ages, so I focused on an interface that feels friendly for every type of user.
Responsive design
The site adapts across desktop, tablet and mobile.